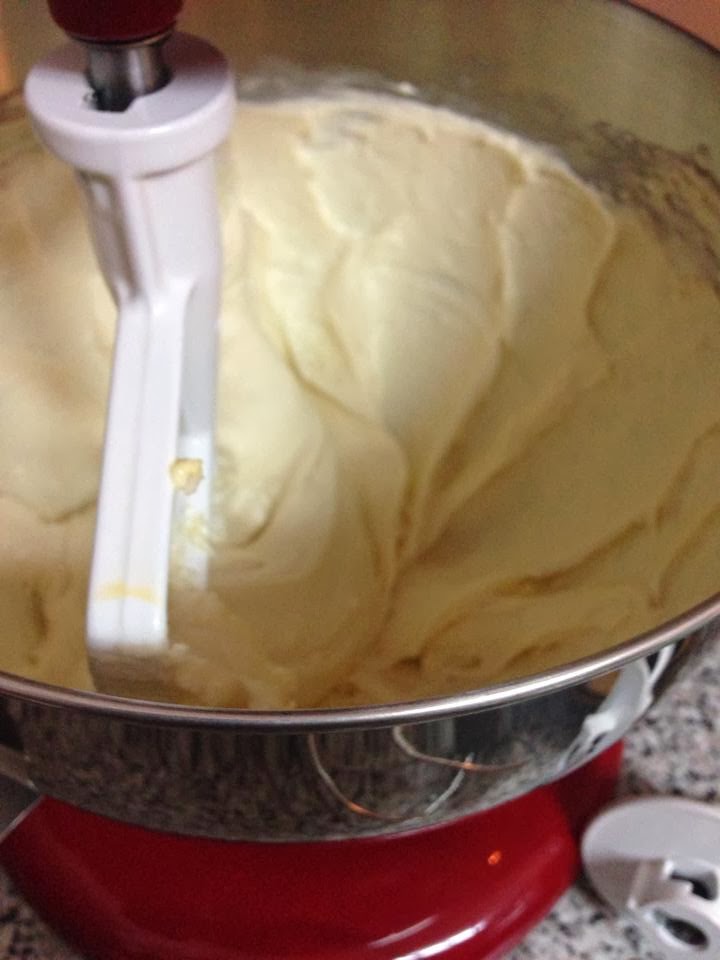
Showing posts with label Recipes. Show all posts

Wednesday, March 5, 2014

Apple Blossom Recipe

I have been seeing pictures everywhere of this apple pie with no top and the apples looking like a flower blossom. It looks so gorgeous that I thought it would take a pastry chef to accomplish but guess who took it on tonight... This girl!! Here's the photo how-to!
CRUST
1 1/4 cups flour
1 tbsp sugar
1/2 tsp salt
1/4 cup butter
3 tbsp shortening
3tbsp cold water
*Combine all ingredients and roll the dough out to fit into a 9 inch pie dish
*Once the pie crust is in the plate, put into the oven (350 degrees) for 10 minutes 

BLOSSOM
Apples!! (the amount really depends on the size of the apples but I used 5)
2/3 cup brown sugar
1 tbsp flour
1 1/4 tsp ground cinnamon 
1/4 tsp nutmeg
3 tbsp vanilla extract 
*The first (and most annoying) thing you have to do is peel and slice the apples. The easiest way that I have seen online is to slice them in a mandolin, but I don't have one so I had to slice by hand. It is SO important to keep the slices super thin so they look like delicate petals and so they bend easier
*Combine all ingredients with the apples and mix with your hands. Be super gentle because those really thin slices break very easily
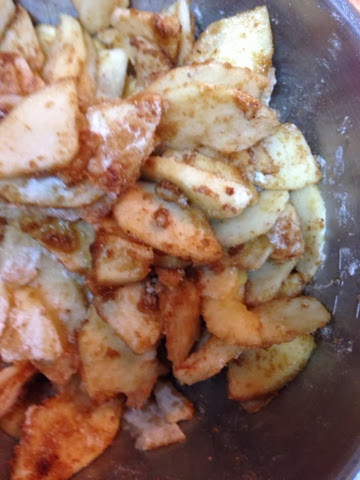
*Now for the tricky part: starting on the outside rim of the pie crust, place the slices in an outline. Once the rim. Is outlined, start on the next round and keep going until you get to the middle and you will notice you made a flower!! Ta-da!!!
*With the oven at 350 degrees, bake the pie for 30 minutes (the crust is already done so this is mainly for the apple slices)
Once the pie is done, the house smelled amazing! And the pie itself looked pretty cute too!!
So by this point, I was happy with my recipe, and the look of the pie but now I had to serve it and this part always gets messy for me. Whenever I serve a regular pie, the crust breaks into pieces and the filling gushes out and the presentation of the slice of pie looks super messy! The biggest surprise of this pie was how easily it serves!!
This pie was SO great with the look, taste and (surprise!) how easily it serves, I even took a make up free picture of moi with my gorgeous slice! :p
The best review for the apple blossom was from my dad when he didn't think I could hear him. He told my husband Ian that it was "the best pie he ever had". With a perfect ratio consisting of lots of apple and not too much dough, this blossom is a winner!!!

Brave Recipe!

I have been trying to get Ian to watch the movie Brave since it came out! So when he suggested watching it on Sunday, I jumped at the chance, especially because he has been doing a Suits marathon for the past week and any change was totally appreciated. After watching it and wanting those little cakes the brothers kept eating, I made them and a tutorial video the next day :)


RECIPE
Cakes:
¼ cup milk
 3 eggs
 ¾ cup sugar
½ cup softened butter
3 cups flour, I know it sounds like a lot but you won’t end up using all of it
A pinch salt
 2 TBSP vanilla extract
 1 TBSP baking powder

Mix butter and sugar together.
When fully combined, add milk, eggs, vanilla extract and mix until fully combined.
Then add baking powder,  salt, and here's where the flour is added in small increments. Mix it all together, slowly adding more flour until you get a batter forming. 
Scoop batter onto lined baking pan with an ice cream scooper.
350 degrees for 8 minutes

Glaze:
1 cup icing sugar
1 tbsp water
Mix together until a glaze is formed and drop onto the center of each cake.

Top with a half cherry and enjoy!

Saturday, November 16, 2013

Brazilian Date Night!!

Ian and I are trying to do a date night every Friday night and there was this one date that we had been putting off: cooking together. We made Brazilian Cheese Bread and oh man was it an experience! For starters, NO ONE sells tapioca flour!  I went to an Asian market because that's where I was told they would sell it and I got SO lost!
Ian and I made it step by step and more than once, we thought it was not going to work! The dough was SO sticky that I thought our Brazilian night in was going to end in pizza but it all worked out :)
The almost impossible to find tapioca flour:

 At this point, we thought we had messed up and were ready to make something else:

By this point, we were more optimistic (this was right before we added the cheese and put it in the oven):

They looked so ugly that when we put them in we just thought "well, at least we tried":

After 20ish minutes, they looked much better than expected:

 Fresh out of the oven! 

The center of the bread was SO cheesy!

Dolly was a HUGE fan of these and asked for a piece of every little cheese bun:


Brazilian Cheese Bread Recipe

Ingredients
*1 cup milk
*1/2 cup veggie oil
*1 tsp salt
* 400g tapioca starch
*2 eggs
*1 1/2 cups grated cheddar cheese

Instructions
*Preheat oven to 350 degrees
*Combine milk, oil, and salt in a saucepan bringing it to a gentle boil over medium heat. Remove from heat when you start to see bubbles come through the milk
*Add all the tapioca starch and mix together until you see no more dry starch. The dough will be grainy and gelatinous
*Transfer the dough into a stand mixer and with the paddle attachment, beat the dough until it is smooth and has cooled
*Whisk the eggs together in a small bowl and slowly add into the dough with the mixer on medium
*Add the cheese until fully incorporated. The dough will end up being between the consistency of cake batter and cookie dough
*Using a spoon, scoop out rounds and place on baking sheet. (i dipped my spoon in a glass of water to avoid sticking)
*Bake for 35-38 minutes until they puff up and look dry but just as they start to colour. DO NOT OVER BAKE! 

Tuesday, October 15, 2013

Get Better Soon Jessie!

Ever since my family moved to Richmond Hill I have been terrified of dogs. There is this one dog that lives two houses away from us, Jessie, who is the one who got me over this fear. My dad was outside one day and started talking to Jessie's owner Eren when they called me outside. The next thing I remember is Jessie running towards me, jumping on me and licking me. Maybe I was too shocked to be scared because instead of screaming or pooping my pants because a huge dog came out of nowhere, I started petting her. Maybe not the way I would have done it, but good job Eren and dad! :p

Anyhoo, Jessie had surgery so Dolly made her a get better soon package! There were doggy treats for Jessie and Lemon Lovely cookies for her family who were super worried.


Pear Crumble

Years ago, we planted a pear tree that we expected would give us so many pears that we would be giving them away in bushels! Well, years and years have gone by and we FINALLY got pears to eat.  They looked small and definitely weren't the normal pear shape, but we were super excited to make something with our first harvest.  Since we had an apple crumble over the weekend for one of our three Thanksgiving dinners (Ian and I had our own dinner on Saturday, Ian's family dinner on Sunday, and my family dinner on Monday) I decided to give it a twist and use pears instead of apples.  
*Recipe at the end*


Pears with the mixture:

Crumble topping ready to go!


All done!

So I never say this about something I cook but this one was absolutely delicious! The peaches were evenly seasoned and the crumble was SO yummy! 

Vanessa's Pear Crumble
* Pears, peeled and cut into slices (I used as much as are in the first photo)
* 1 cup sugar
* 1 tablespoon flour
* 1 teaspoon ground cinnamon
* 1 cup oats
* 1 cup flour
* 1 cup brown sugar
* 1/4 teaspoon baking soda
* 1/4 teaspoon baking powder
* 1/2 cup melted butter

~ Preheat oven to 350 degrees
~ Mix pears, sugar, flour (1 tbs), cinnamon together and make sure the pears are ALL coated
~ Put the mixture into a 9x13 inch baking dish and make sure the pears are evenly spread out 
~ Combine the oats, flour (1 cup), brown sugar, baking soda, baking powder, and melted butter in a bowl until an evenly mixed crumble forms and pour that out on top of the pears evenly
~ Bake for 45 minutes so the top turns to a nice brown colour
ENJOY!

Tuesday, April 9, 2013

Nutella Cookies!

Since joining Pinterest, I have found MANY awesome little ideas that I will probably never do but I can dream right? This was my first ever food 'pin' that I swore I could do because it looked SO easy! Who knew that I would complete the wedding pins before the simple cookie pin!
On Easter weekend, Ian and I went to Whitby where I got the cutest measuring cups from my mother in law, Heather (Thanks Heather!!) and she also bought us two giant tubs of Nutella so it was obvious what the first thing I was going to do when I got home would be.  So after I ate half a tub of Nutella straight out of the jar (I'm totally kidding! I only had one spoon....ish) I made Nutella cookies!
Here's how I (FINALLY) made the Nutella Cookies:

 First off, here are the super cute measuring cups!
 They even stack together perfectly!
Anyhoo, here's how I made the cookies:
 1 cup of Nutella (you will probably need more for snacking)
 1 egg (the egg holder is totally a MUST!....
just kidding but make sure the egg is at room temperature)
 1 cup flour
(can you tell we are working on our food storage
because of the huge sizes of everything I am using!)
 Mix everything together in a bowl very neatly, using a spoon
 The 'very neatly, using a spoon' lasted maybe 30 seconds before I got my hands in there
 Make sure you heat up the oven to 350 degrees

When you have a uniform batter mix, make 1 inch balls and place onto the baking sheet

 Now you have to squish the balls flat using a glass

 They grow a little bit so make sure there is some room between them
Bake them for 6 minutes and dont eat the right when you take them out because you WILL burn your mouth (I learned the hard way!)

TA-DA! Nutella cookies!