CRUST
1 1/4 cups flour

1 tbsp sugar
1/2 tsp salt
*Combine all ingredients and roll the dough out to fit into a 9 inch pie dish
BLOSSOM
Apples!! (the amount really depends on the size of the apples but I used 5)
*The first (and most annoying) thing you have to do is peel and slice the apples. The easiest way that I have seen online is to slice them in a mandolin, but I don't have one so I had to slice by hand. It is SO important to keep the slices super thin so they look like delicate petals and so they bend easier
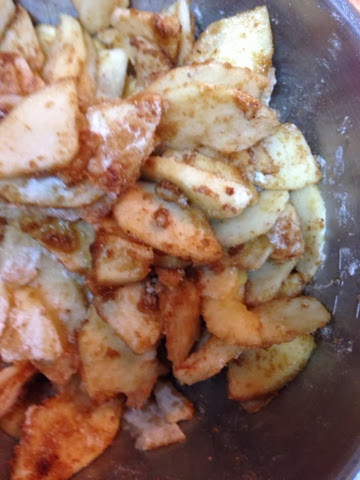
*Combine all ingredients with the apples and mix with your hands. Be super gentle because those really thin slices break very easily
*Now for the tricky part: starting on the outside rim of the pie crust, place the slices in an outline. Once the rim. Is outlined, start on the next round and keep going until you get to the middle and you will notice you made a flower!! Ta-da!!!
Once the pie is done, the house smelled amazing! And the pie itself looked pretty cute too!!
So by this point, I was happy with my recipe, and the look of the pie but now I had to serve it and this part always gets messy for me. Whenever I serve a regular pie, the crust breaks into pieces and the filling gushes out and the presentation of the slice of pie looks super messy! The biggest surprise of this pie was how easily it serves!!
The best review for the apple blossom was from my dad when he didn't think I could hear him. He told my husband Ian that it was "the best pie he ever had". With a perfect ratio consisting of lots of apple and not too much dough, this blossom is a winner!!!


No comments:
Post a Comment